Anyone else still asking themselves,“what is actually going on?” Yep, this confusing feeling hasn’t gone away since March. While Wallfower’s home base in Wisconsin is beginning to open up, we are still far from being back to any sort of normal. Still no travel, still no concerts, still no mass gatherings.
If you’re like me, you’ve had to cancel all your summer trips and you’re heartbroken. Understanding, but still heartbroken. Luckily for us, the weather is getting nicer and we can do more outside, like hiking and camping. I’ve been thinking of ideas that would combine some creativity and travel, and maybe some time outdoors. This is what I came up with.
Are you ready for it? Here it is…
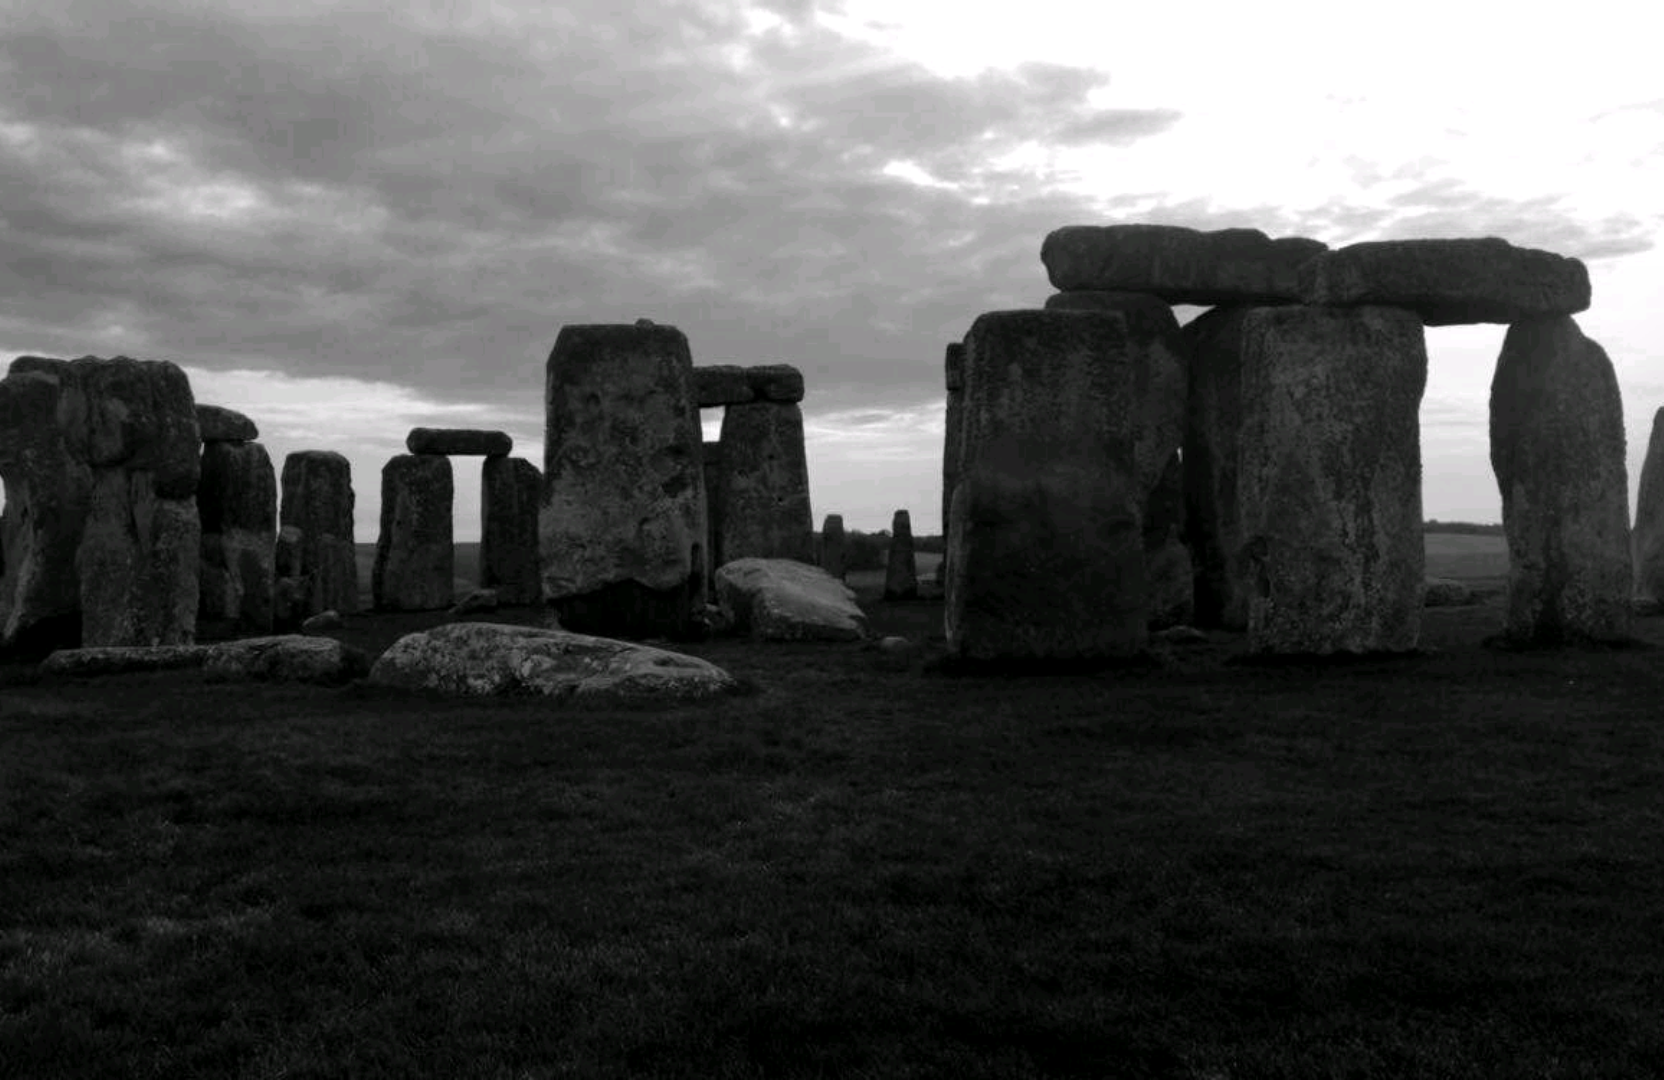
I built my own mini-Stonehenge. *Pause for dramatic effect*
I can’t currently travel to Stonehenge, but I can bring Stonehenge to me. I’m here to share with you some simple steps to build your own mini-henge. Buckle up, strap in, this is going to be a fun project for all ages.
The Mini Henge
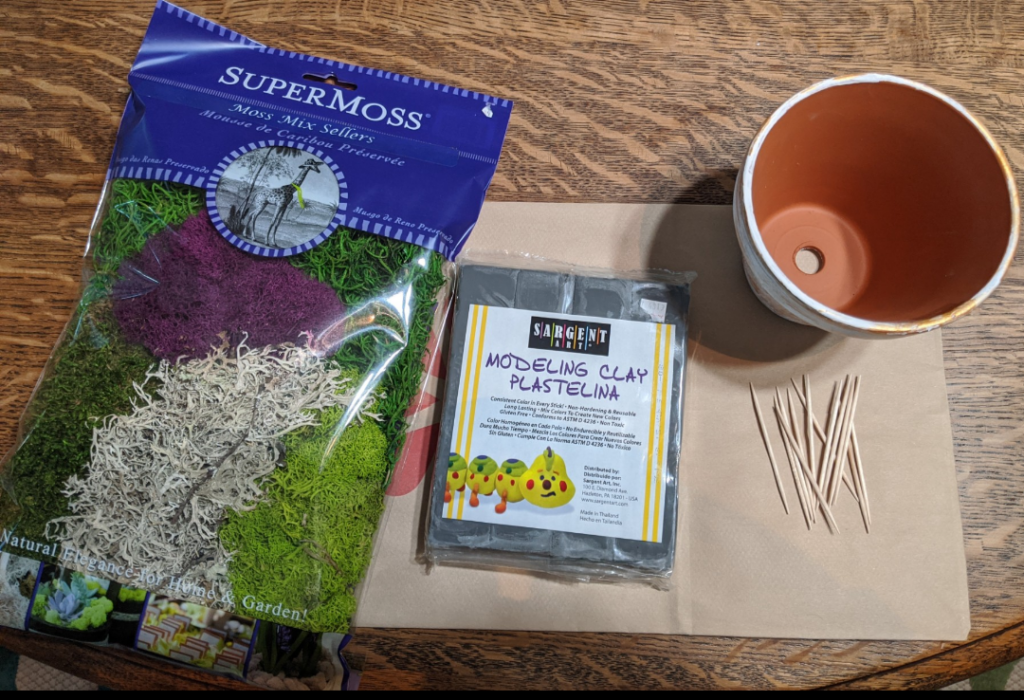
The inspiration for this project came from The Mini Garden Guru. Tons of adorable mini gardens, check it out! For their project, they used a pre-built mini Stonehenge kit. For this project, I wanted to take the standing stones into my own hands. So I used clay. One thing to take note when building with clay: make sure you get the right clay that hardens in the oven. If you’re like me and order your modeling clay with curbside pick-up… you’ll get the wrong kind. Oops! That didn’t stop me however, and don’t let it stop you!
Materials Needed:
- Model clay (gray)
- Toothpicks
- Flowerpot or terrarium
- Potting soil
- Moss
Step 1
Take your flowerpot or terrarium and fill it potting soil or dirt. Make sure the dirt is almost to the top.
Step 2
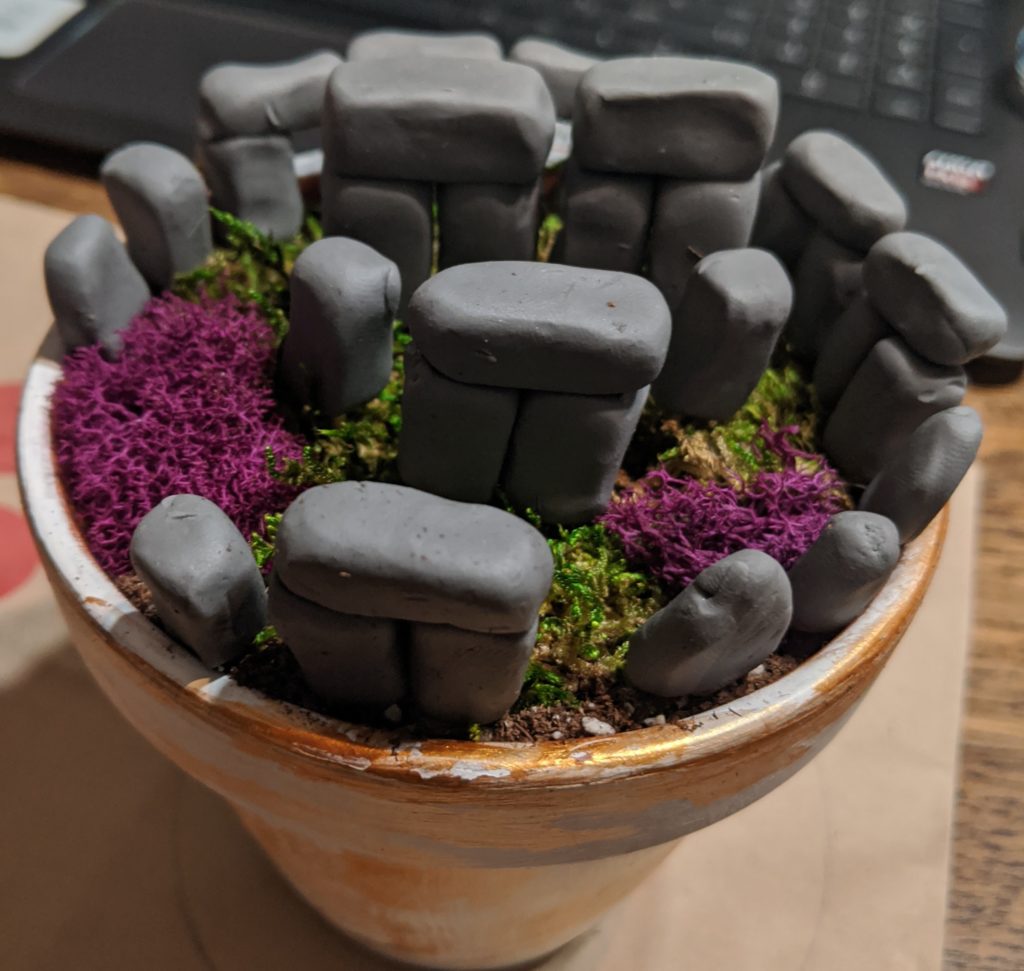
Lay your moss on the potting soil. I got mine at a local greenhouse. I also added purple moss because it reminded me of the purple heather that grows in that region. Once you lay the moss, begin building your stones.
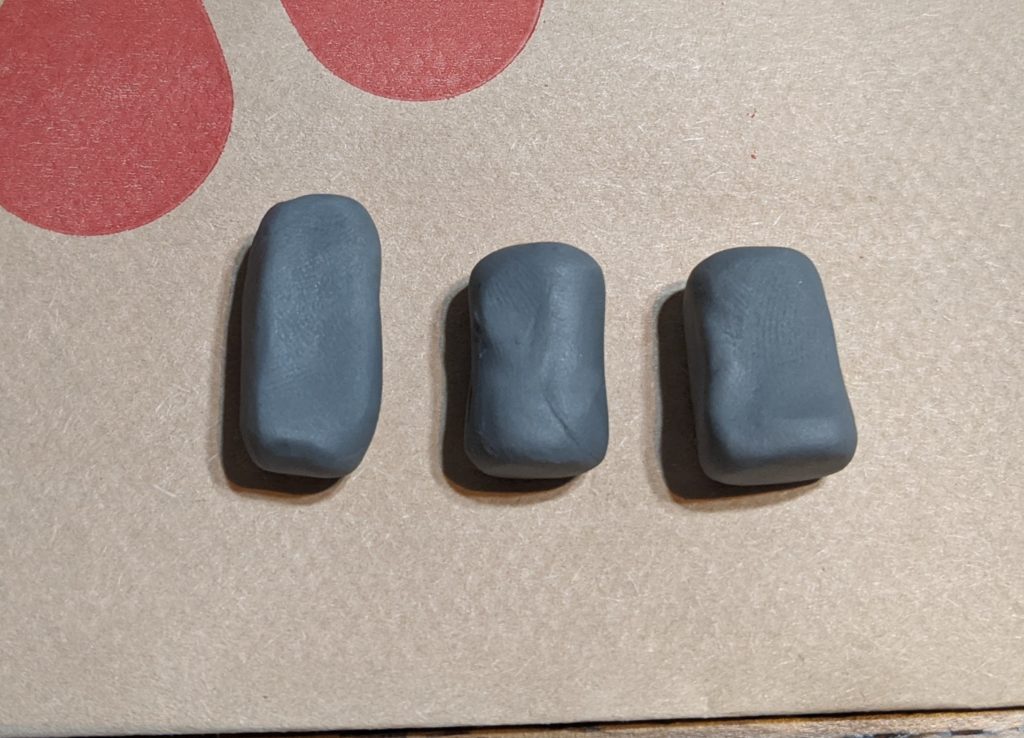
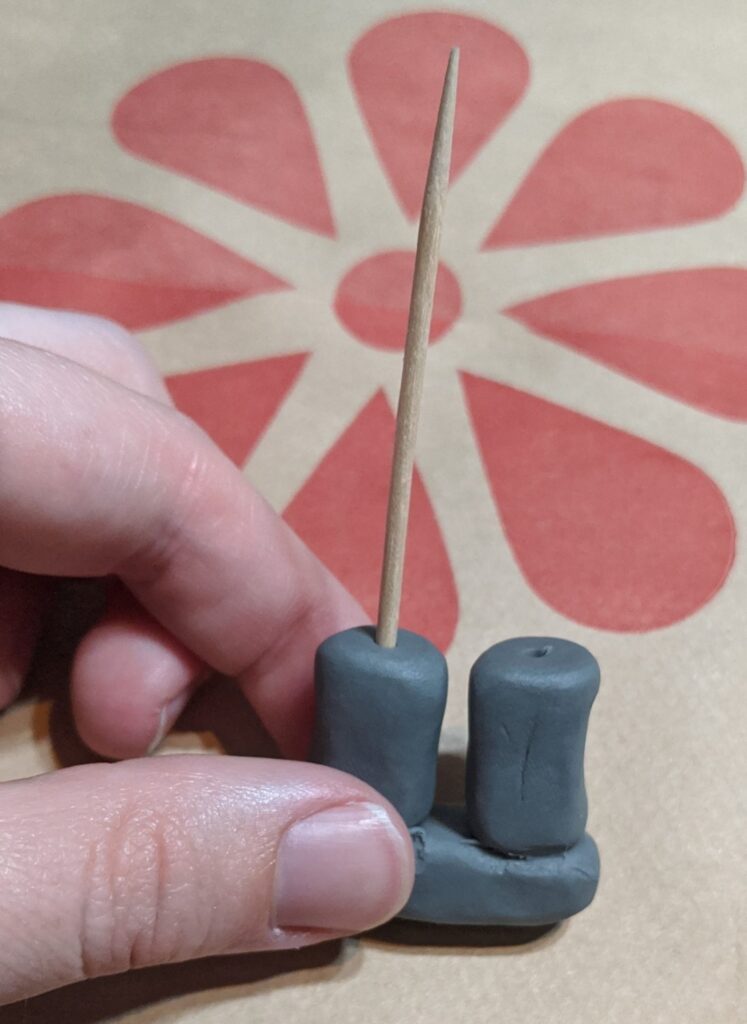
Step 3
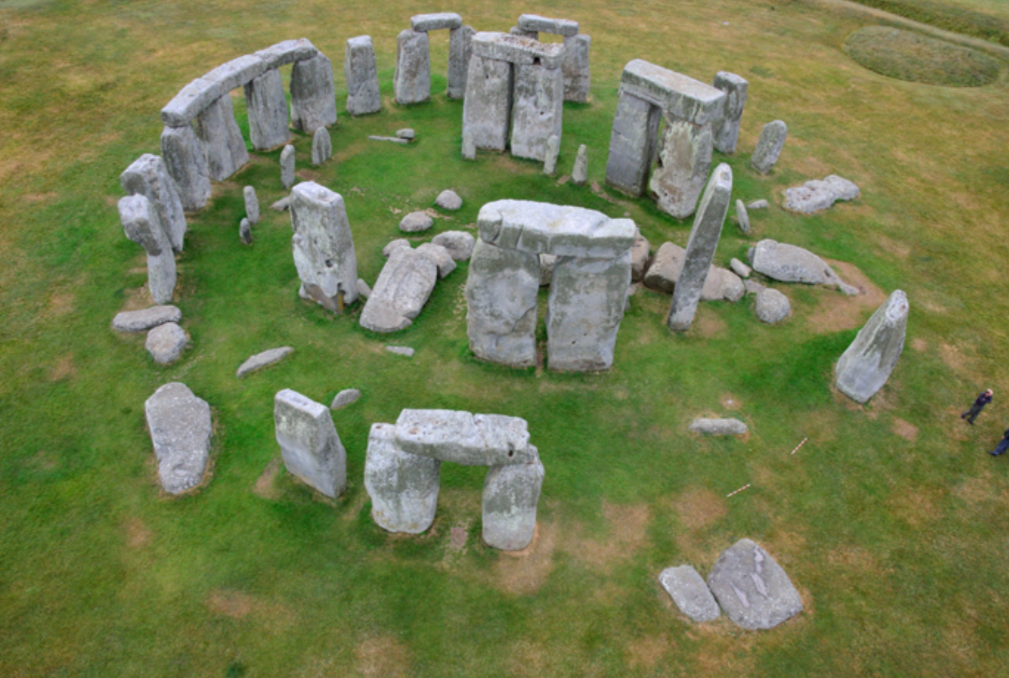
This is the photo I used to base my stones after.
Mold the clay into small rectangles. Mine were a little less than an inch long. Once you have your stones, begin to assemble them using your toothpicks to hold them together.
Step 4
Once you have your pillars built and assembled, you can begin placing them in your pot. Mine aren’t exactly to scale, but hey nothing can compare to the real thing, and I am beyond proud of how mine turned out.
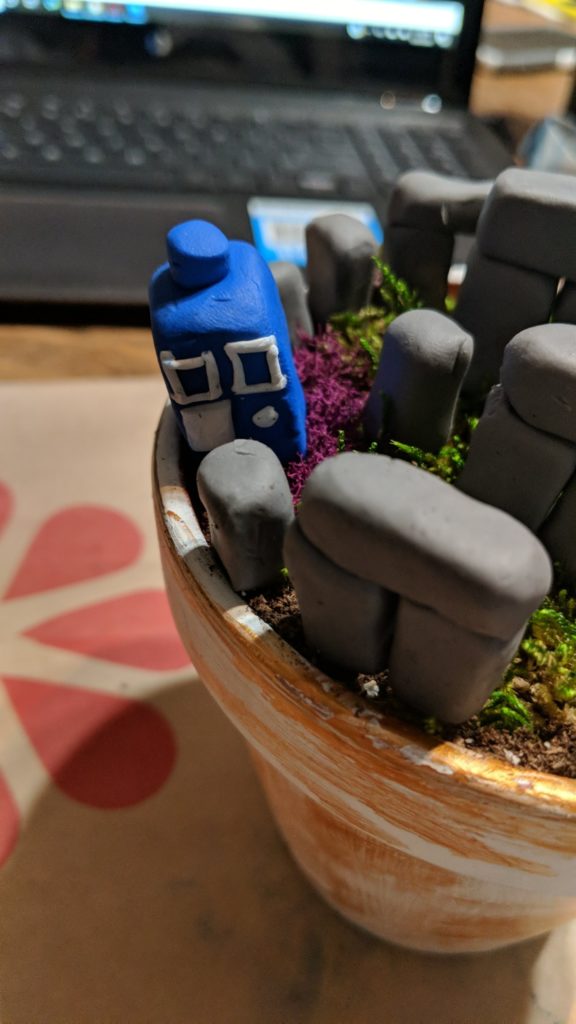
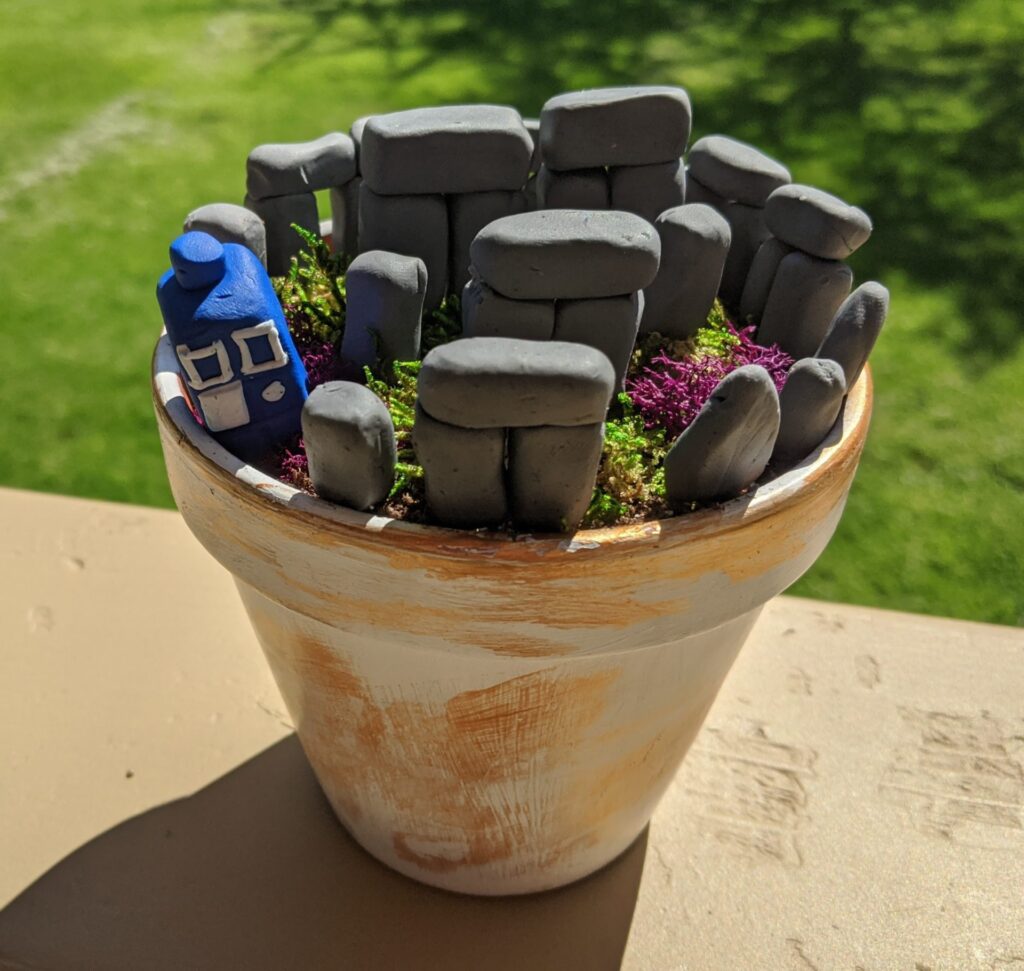
I also added a TARDIS, because I’m a nerd. And who doesn’t remember that famous Doctor Who Stonehenge speech?
Epic.
Now that it’s complete, take your mini henge wherever you please, as long as you are being safe!
It is an all-around bummer that so many travel plans are on hold. But those plans aren’t gone forever. Now, more than ever, we make do with what we have. The hour it took me to put together my mini Stonehenge brought me more joy than I could have imagined. And brightens my day as it sits on my desk next to me as I work. Yes, things are inconvenient now, but they won’t always be. Now is a great time to get creative and try projects you wouldn’t normally have time for. Our Pinterest is loaded with other travel crafts, check it out here. And remember, Never Stop Creating.


