Spring is here! While the weather is unpredictable (welcome to Wisconsin!) and many Spring events have been canceled due to the coronavirus, one thing that isn’t canceled is Earth Day! It may be one of the last things on people’s minds right now, but that doesn’t make it any less important. The next few blogs are going to focus on eco-friendly art projects to help celebrate Earth Day. This week, we are going to focus on a project that will help one of the Earth’s most important creatures: the bee!
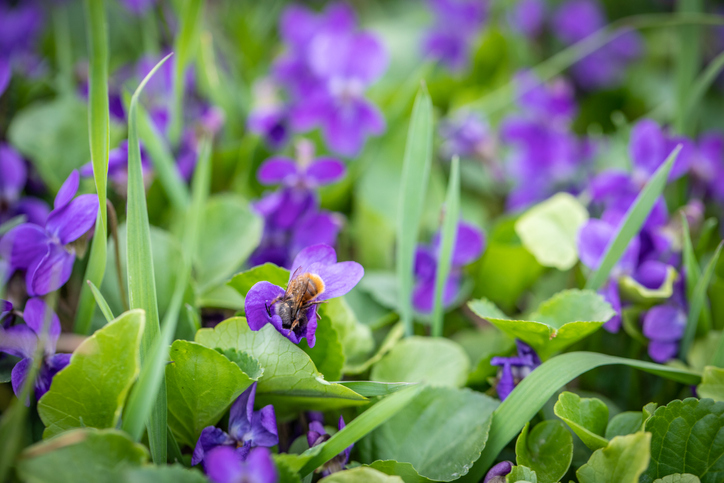
Bees often get a bad rap as dangerous and mean insects. Luckily our friends over at Beepods have worked tirelessly to put resources together to help clear up some common bee misconceptions such as bees swarming and attacking people. Bees are a major part of our ecosystem, ensuring that our crops and gardens are pollinated. Without bees we wouldn’t be able to grow the food we need.
There are lots of ways we can help bees continue to pollinate. Beepods had a great DIY project for seed balls on their Instagram recently. Seed balls are the perfect way to grow pollinator friendly wildflowers in your yard! Check out the recipe here.
While there are many types of bees, this week we’re going to focus on the mason bee. Mason bees are a bit different than traditional honey bees. LIke most honey bees, mason bees don’t often sting. However, they tend to be more independent, and don’t live in hives. You can make mason bees a home with a simple DIY project.
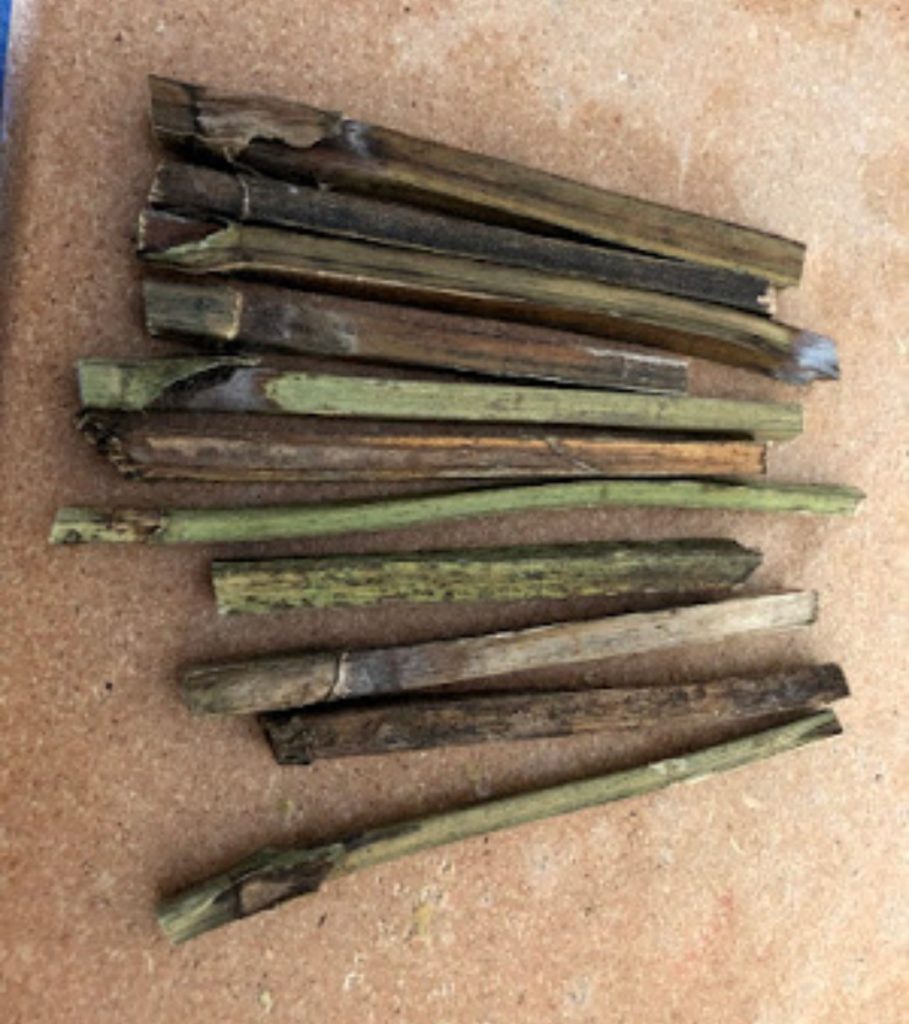
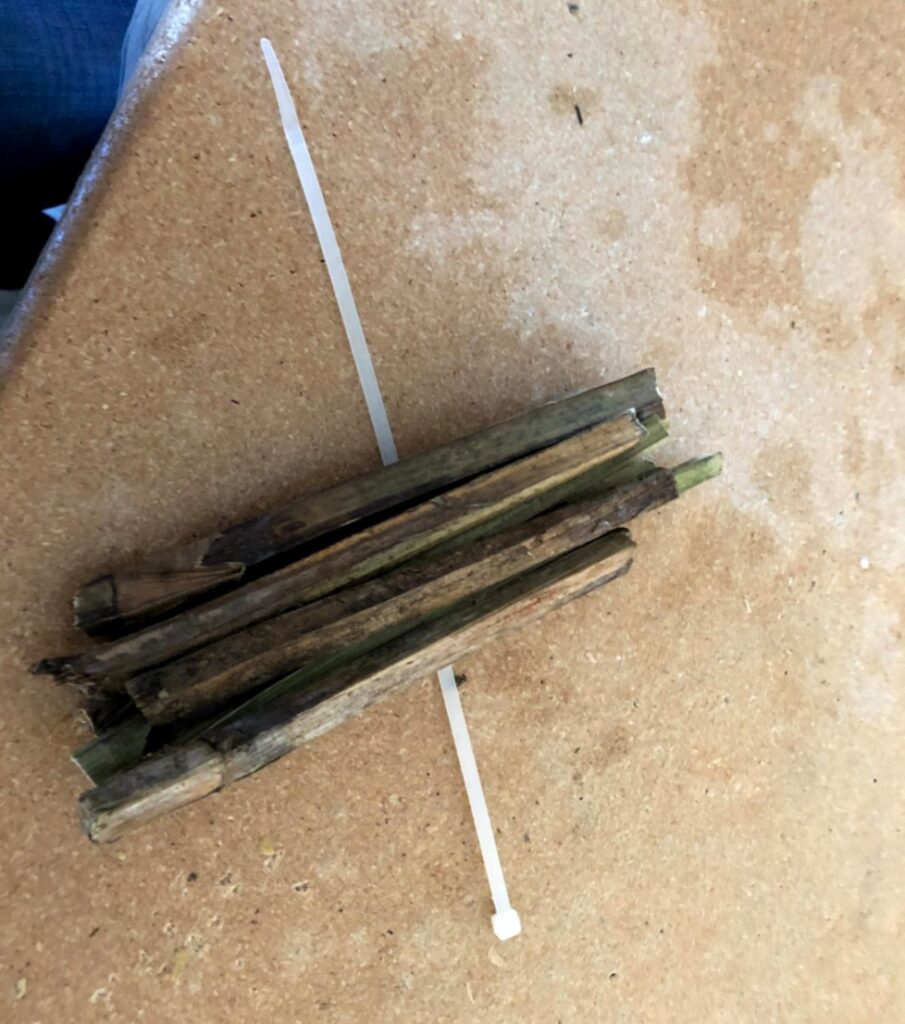
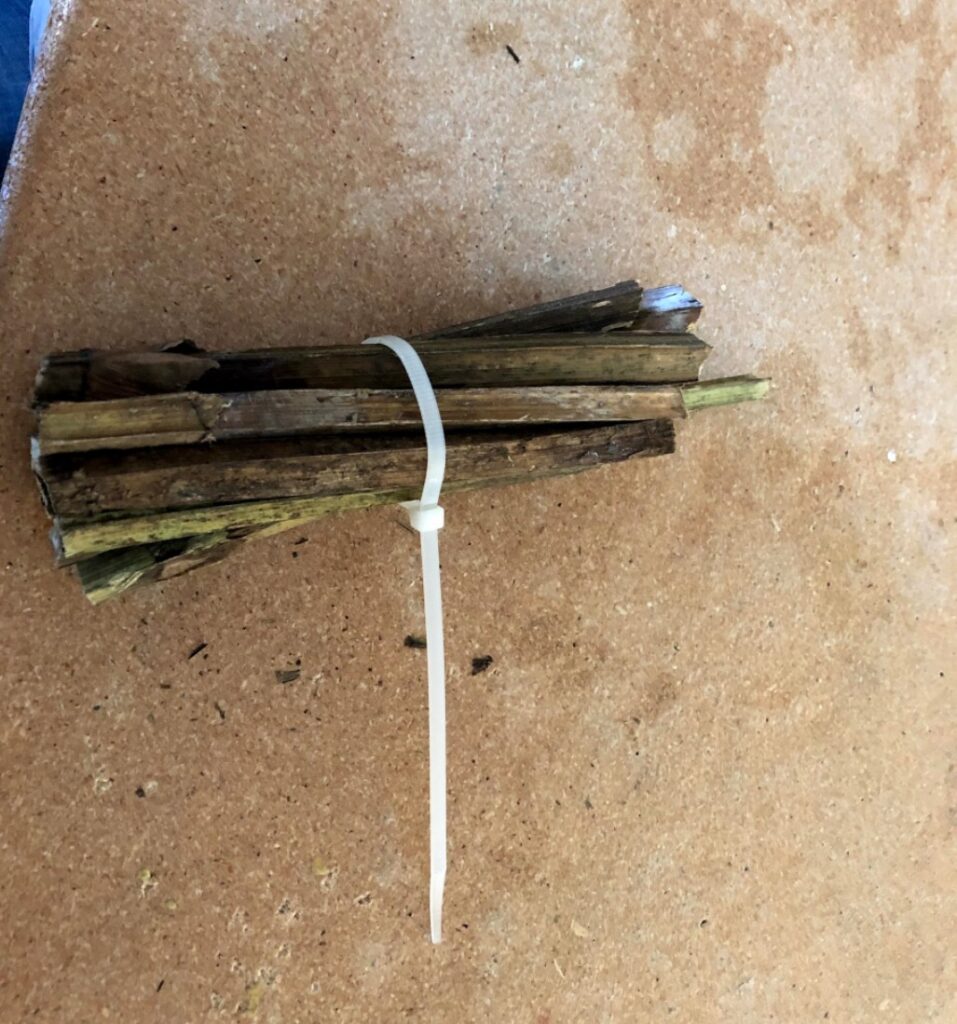
There are numerous ways to build a mason bee house. Here are two simple methods with supplies you probably have around your house!
Here’s what you’ll need for method one:
- Wild Flower Stalks
- Zip Tie
- Twine
The best flower stalks come from cup plants. They are easy enough to find in your yard or along a nature trail. Clip some with a pair of garden shears and bundle them together with the zip tie. Then loop the twine through the zip tie and hang outside for the mason bees! Before the next spring starts, make sure to throw the stalks in your compost and replace with new ones.
If you don’t have access to flower stalks then method two will be perfect for you.
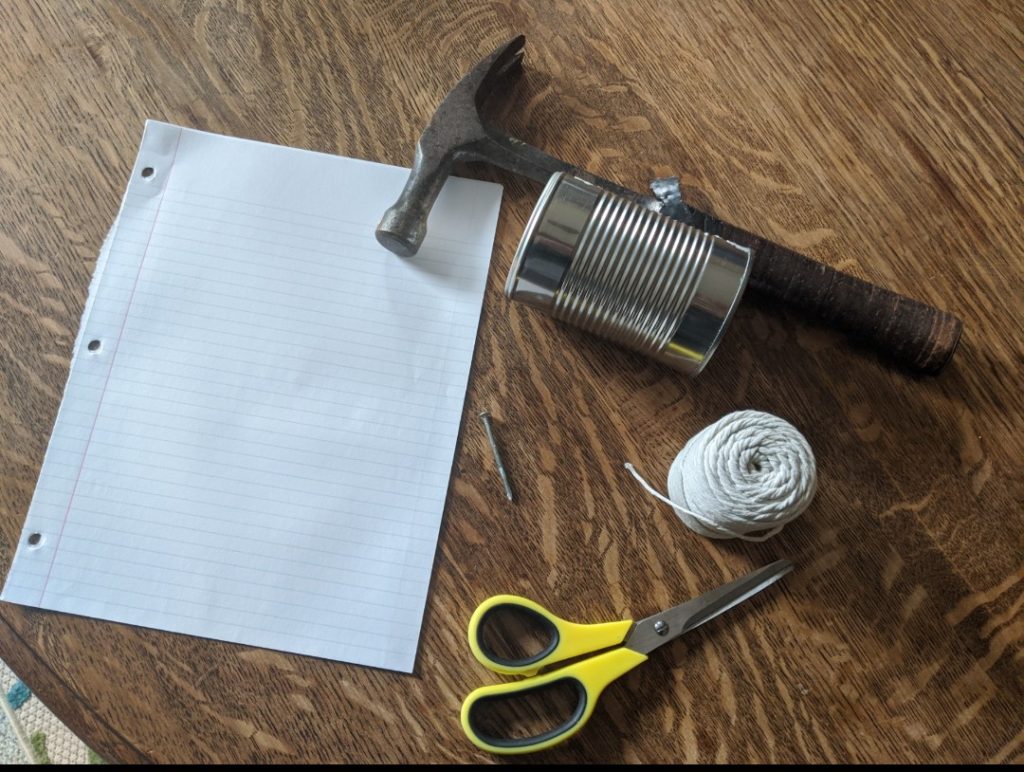
Here’s what you need for method two:
- Empty Can-cleaned out, label removed
- Paper
- Hammer
- Nail
- Twine
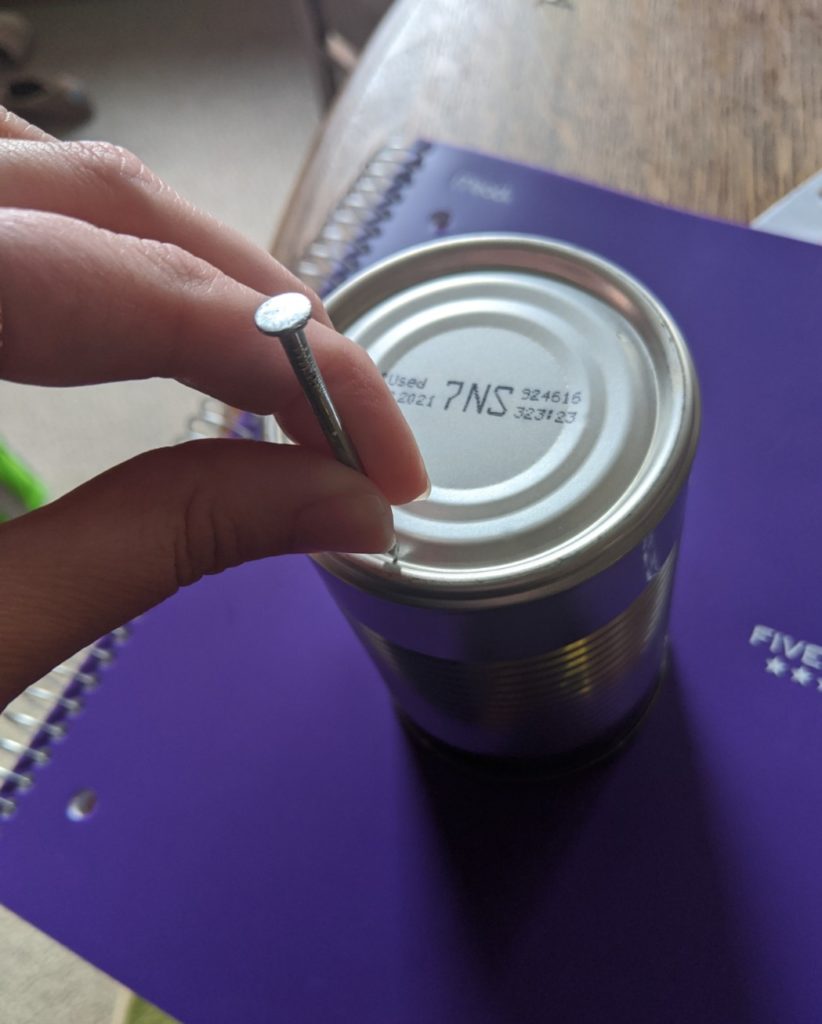
For the first step, use the hammer and nail to punch a hole in the can and feed the twine through.
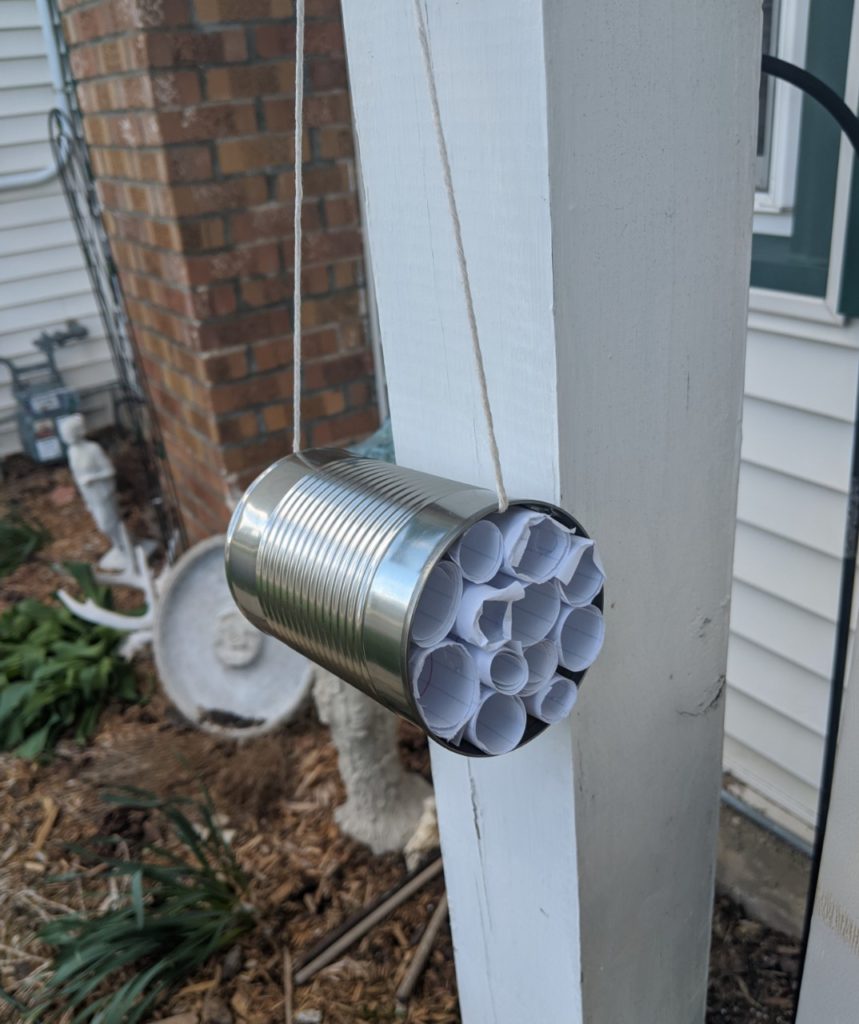
In place of stalks, take some paper and roll it up into tubes. Then place the tubes in the can and you’re all set! Hang it outside and give your local pollinators a home! Make sure to clean out the tubes every year and replace with new ones, or the bees won’t come back.
This is a great project to help the planet and the bees. If you want to find out more about how you can help, visit Beepods for more information.
Stay tuned for more Earth-friendly art projects to come! And remember, Never Stop Creating.


