Happy Earth Week! Because this year was the 50th anniversary of Earth Day, we wanted to dive a little bit more into its history and the impact it has on our community before we suggest some fun Earth Day crafts.
The first Earth Day took place on April 22, 1970, thanks to Wisconsin Senator, Gaylord Nelson. The first Earth Day inspired 20 million Americans to demonstrate against the harmful effects of industrialization, including a massive 1969 oil spill off the coast of California and Cleveland’s Cuyahoga River catching fire. The success of the first Earth Day laid the foundation for the Environmental Protection Agency and later on the passing of the Clean Air and Water Acts, to mention a few.
By 1990, the idea of Earth Day went global. At the time 141 countries were participating in efforts to increase recycling. And before the end of the decade, President Clinton awarded Senator Nelson with the Presidential Medal of Freedom for founding Earth Day.
Roughly one billion people worldwide celebrated Earth Day this year The work Senator Nelson began 50 years ago ultimately changed the world. Technology advanced to be more environmentally friendly. Homes are now built with energy-saving appliances, windows, and lightbulbs. And they can be heated using radiant heat technology through companies like RPT.
Vehicles have become more fuel-efficient, people are utilizing reusable shopping bags, and cutting down on single-use plastic. There has been an increase in organic farming, using less harmful chemicals on crops, which helps the local bee population, and conserving water.
How has that impacted our community? One of the most eco-friendly elementary schools in the country just so happens to be nestled in the heart of our hometown. Lake Mills Elementary was the first K-12 school in the country to achieve Platinum LEED v4 certification. You can read more about that here. We are proud that our community strives to be leaders in a cleaner and safer world for our children and future generations.
So, looking for some fun Earth Day art projects?? I thought so!
Rock Painting
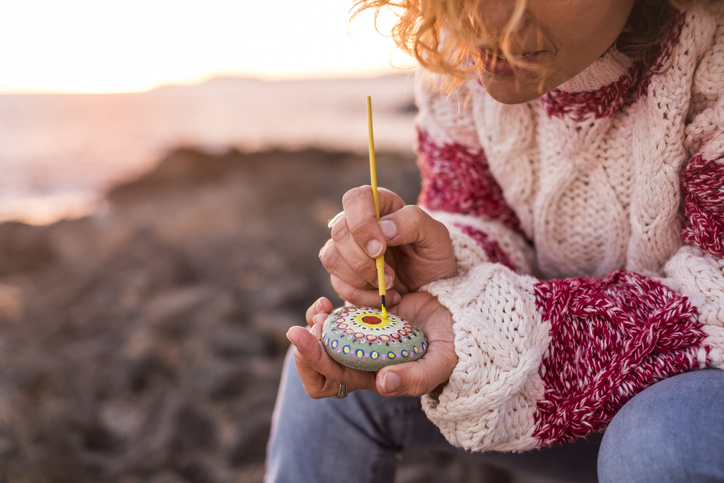
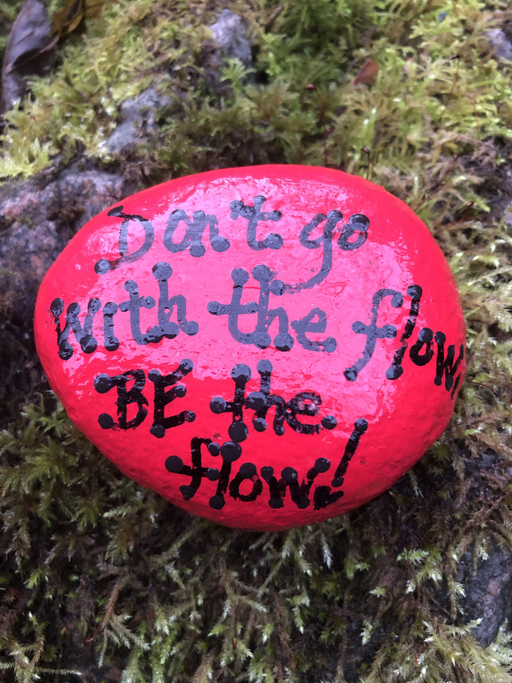
This is a current trend. People paint positive messages or characters on rocks and leave them in the woods or neighborhoods for others to find. This project can be eco-friendly if done correctly. First off, removing rocks from a natural environment can disrupt a creature’s home. So for this project, it is better to purchase rocks from a garden store. Second, make sure you are using non-toxic paint so that chemicals don’t get consumed by wildlife or wash off into the soil. All you need now is a paintbrush!
Once you’ve painted your rock, you can take them out into your neighborhood or park to spread some positivity! Make sure you double-check that it is okay to leave rocks at a park, some national parks don’t allow painted rocks. To find out more about how you can leave a smaller footprint while placing rocks, check out this article!
Do It Yourself Bird Feeder
This project is for the birds, literally. We found two ways you can create your own bird feeders with things you probably already have in your homes! Here is what you need for your first project:
- Popsicle sticks
- Non-toxic glue
- Twine
- Birdseed
Create a base layer with the popsicle sticks like this.
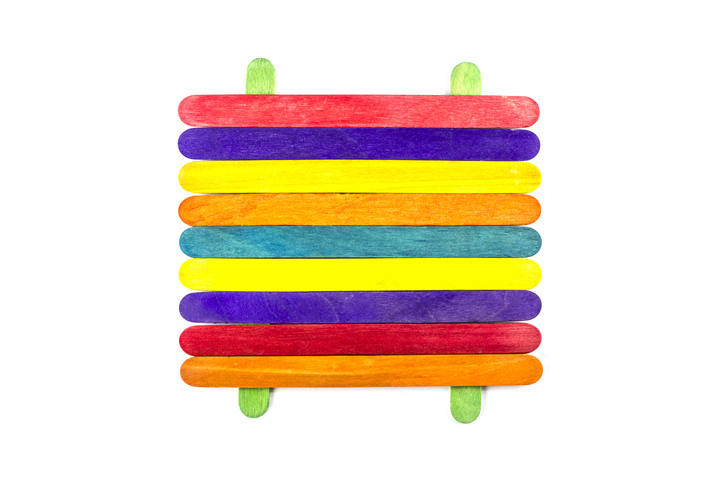
Then add layers on top until the feeder is deep enough to hold seeds.
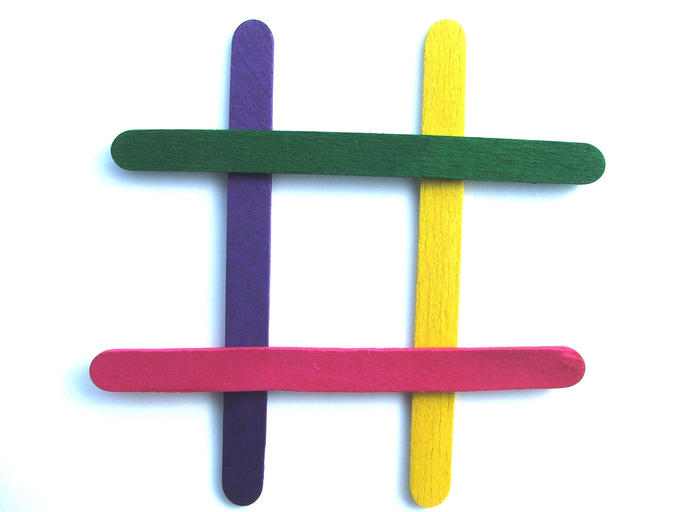
Once finished, tie a piece of twine to each corner of the feeder and tie together at the top. Hang outside and fill with seeds!
For the second project, all you need is:
- Aluminum can
- Can opener
- Non-Toxic glue
- Two sticks – sturdy enough to hold a bird
- Twine
Use the can opener to make sure the top and bottom of the can are open. Next, glue the sticks to each side of the can, leaving enough room for the bird to perch comfortably. Feel free to decorate the feeder however you choose, so long as you use non-toxic materials! Last, tie the twine around the can, hang outside, and fill with seeds.
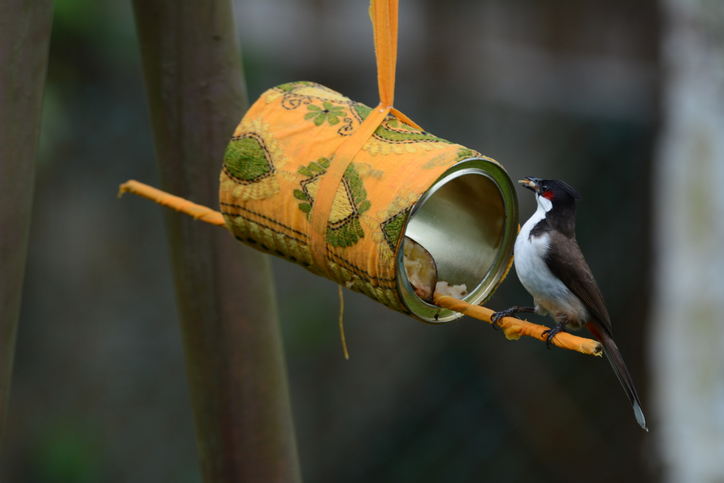
Your birds will love these feeders! For more DIY feeders check out this post by The Whoot.
Build a Bee Bath
What the heck is a bee bath you may ask. Well, collecting pollen to make honey is thirsty work. Bees need water too! This simple DIY project is the perfect way to help out your local pollinators. All you’ll need is:
- A dish or shallow pot
- Sticks, a wine cork, or rock
- Fresh water, changed regularly
Fill the dish or shallow pot with fresh water. Add in the stick, cork, or rock so that the bees have something to sit on while they drink. Then make sure to change the water frequently and you’re set to go! Your little bee friends and local vegetation will thank you! For more bee tips and tricks to help pollinators, check out this blog by our friends at Beepods.
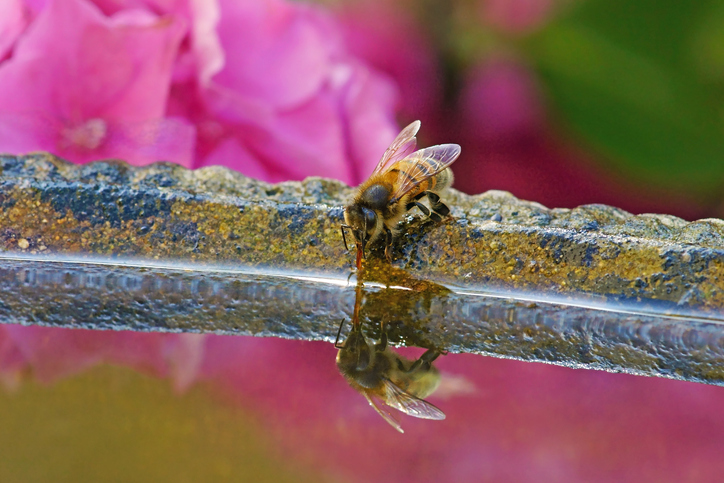
If you want to check out more Earth Week crafts, head over to our Pinterest board! Thank you for doing your part to help the Earth. Show us some of your finished projects! We’d love to feature them on our social media. Always remember, Never Stop Creating.
